Showing posts with label Busy Bags. Show all posts

March 15, 2013

Feed the Mouse

This might be my favorite busy bag game I've made in a long time.  It's not that it is especially challenging for my kids, but I just think it's cute.  Ha ha.  I cut a circle and some "cheese" squares out of yellow foam.  I attached the circle to the back of the cheese di-cut with a simple brad.  Next, I cut out a circle in the di-cut and wrote in numbers on the the foam.  As you turn the wheel ask your child to feed the mouse the correct pieces of cheese according the the number showing.


Spelling Cards

Addi is beginning to sound out some words and is excited when she can figure out new words.  I created these cards from scrapbook paper and stickers.  I give her one card at a time and she looks through her pile of letter cards to find the letters to form the word.  This has also been good practice for her to learn that words are sounded out by reading them from left to right.


Counting Cards

This is another really easy busy bag to make.  You can use card stock, index cards, construction paper, or whatever you want.  You draw a numeral (or use a sticker like I did) on one set of the cards and draw pictures or use stickers on the other set of cards.  The goal is to get your child to count and match the cards together correctly.  I only made this set up to five but you can go as high as you would like.  Also, you could add a set where the number is spelled out (i.e. one, two, three, etc.).


Bottle Top Matching Game

This is one of the easiest busy bags I've ever made and you can make so many variations it's amazing!  First, I throughly cleaned the bottle top lids and let them dry.  Then I placed matching round stickers on the caps.  That's it.  With younger toddlers you can play a simple matching game to see if they can identify which ones have the same picture.  With older toddlers you can turn over the caps and play the memory game.  So simple, and so fun!


March 13, 2013

DIY I Spy Book

First, let me state up front that I know I am not good at photography.  We have a really nice DSLR (or something or another).  My husband can tell you all about it because he enjoys playing around and taking really cool shots.  I, on the other hand, stick to the automatic setting.  It's not that I don't want to learn.  I'm just not willing to take the time to learn right now.  All that to say, please don't judge me based on my ridiculous photography skills.  And, know that I'm sure you can create a much betterI Spy book than what I have here.  ;)

All I did was throw some toys into a pile on some black felt then took a picture.  Next, I picked out several of the objects and set them up in a way they were easily identifiable and took a second picture.  After ordering the prints, I used a silver sharpie marker to write instructions on the appropriate photo.  I found an empty plastic photo book laying around the house and slid the pictures right in.  I think you can get photo books like this for a $1 or less.  Some of the other toys I used for the pictures were legos, fake kitchen food, and bead necklaces.  Be creative and make it your own!!!


Egg-citing Games

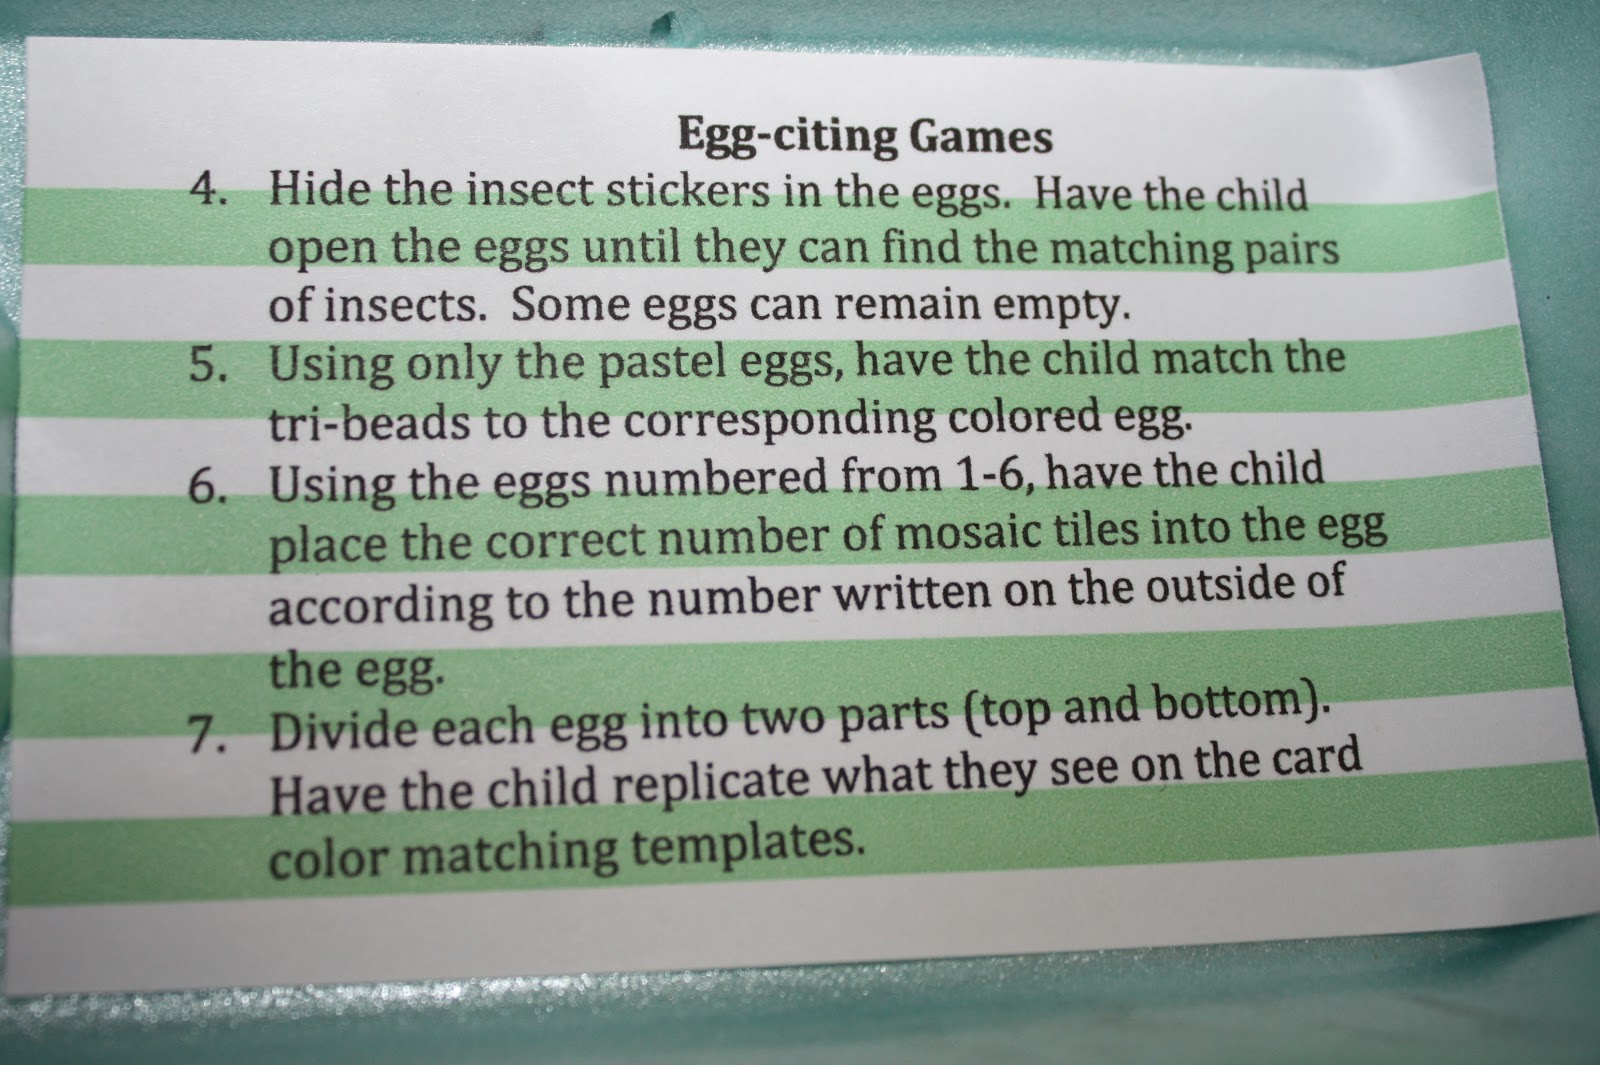
Who knew a dozen plastic eggs could provide so much entertainment?  This set has instructions for seven different games!  Yep SEVEN!!!  

I bought a pack of 36 bold plastic eggs and another pack of pastel plastic eggs for $1.98 each.  You don't have to buy that many eggs but I was planning on making some sets for a few of our friends and I also wanted some left over eggs for some Easter activities. 

I typed up some simple directions and printed them on index cards, which fit perfectly in the top portion of the egg carton.  The first three games are super simple.  To clarify the 3rd game, the child would match the dark purple and light purple, the dark pink and light pick, etc.

Game 1

The last four games require a few extra components.  You can use whatever manipulatives you want.  I just used some things I had lying around the house.  Just make sure if you have a little one who is still putting things in their mouth that you pick larger objects.

Game 4

Game 5

Game 6

Game 7


I'm a Busy Bag Makin' Machine

My husband went out of town for the weekend and although I missed him tremendously, it might have been for the best.  This is what my living room looked like as I was preparing to make the 100 busy bags from the giveaway.  I just thought it was funny so I thought I would share.  I kind of wish I would have taken a picture about an hour after this one was taken (or even the next night) because you would have really though a tornado had blown through.  Congrats again to the 10 winners.  I plan on sending out your bags out once I have everyone's address.

March 8, 2013

Busy Bag Giveaway Winners!!!


Well, for my very first giveaway I could not have imagined better participation.  I think I had over 40 people submit at least one entry and quite a few submitted multiple entries.  I recruited Addilyn to help me with the drawing and below is a picture of the winner's names.  If you see your name listed below please email me at amandakelly17@gmail.com with your address.  I plan on making the Busy Bags over the course of the next week and hope to mail them out by next weekend.  Congrats!


February 20, 2013

Busy Bag Organization

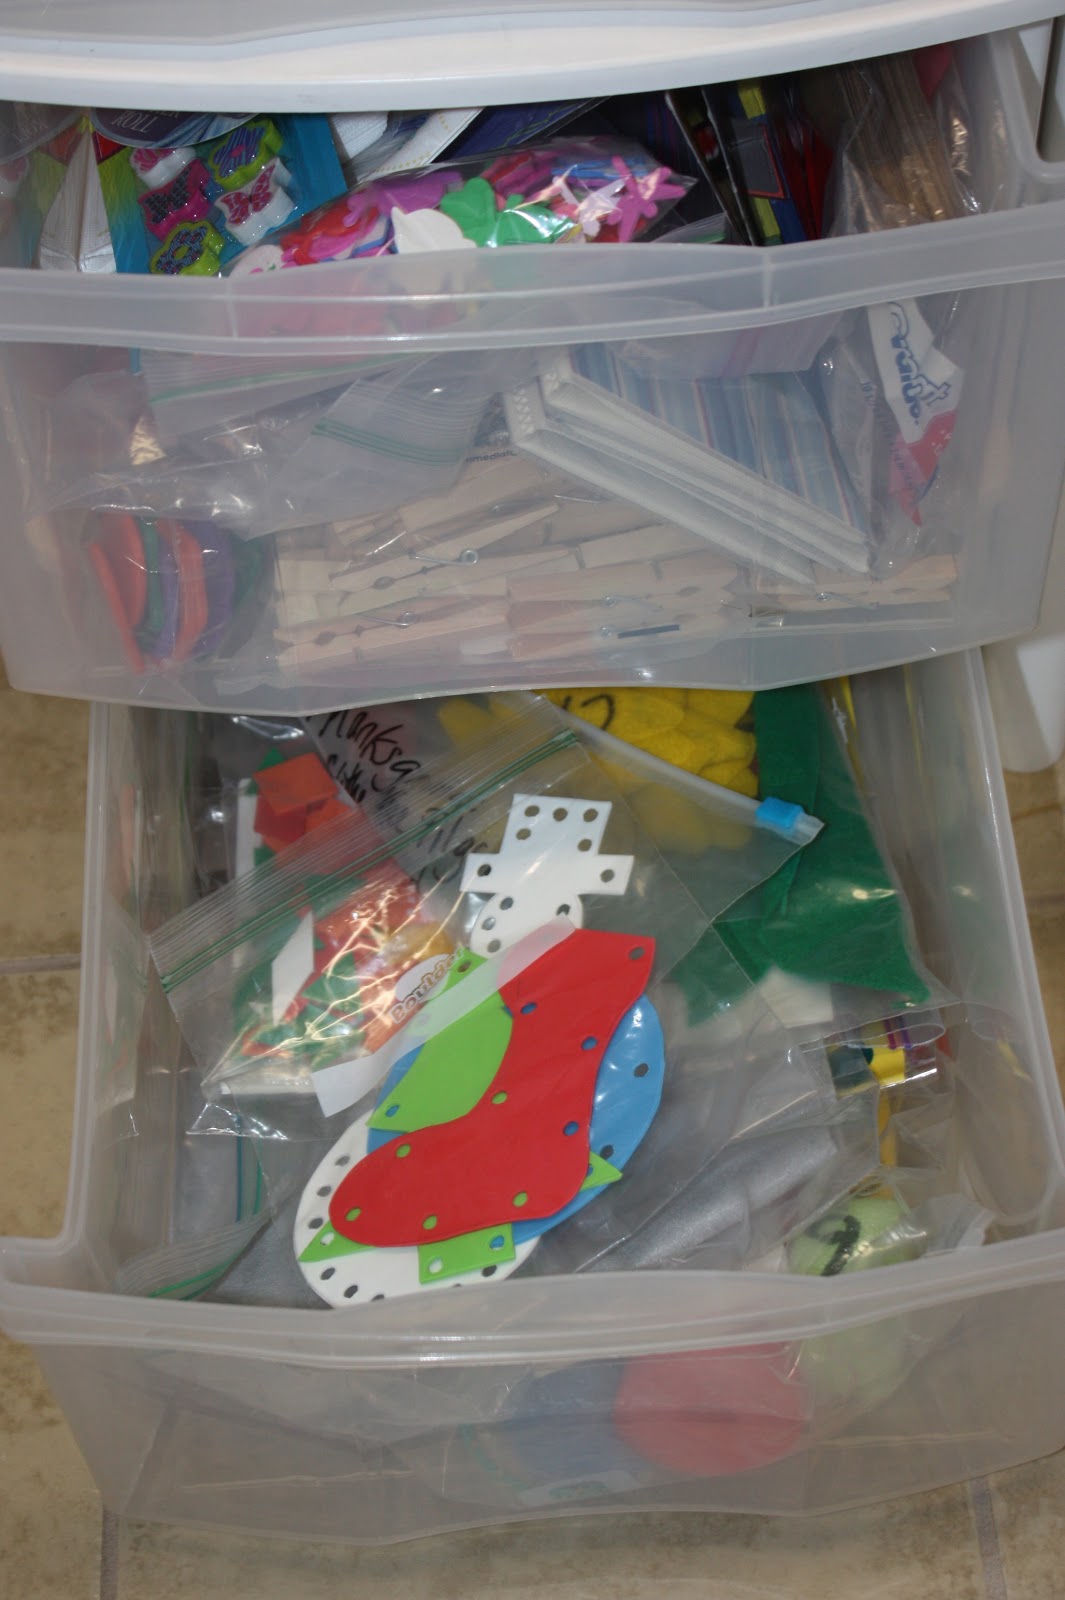
Several ladies have asked me how I organize and store our busy bags.  Great question!  When we first started making them last year and after one or two busy bag swaps I realized how quickly they became a cluttered pile of confusion.  I asked another lady who I had swapped with and she said she just kept them in a box in their coat closet so they were easily assessable to the kids but out of the way.  Great idea I thought, until I realized, oh yeah...we don't have a coat closet (or any kid-friendly closet).  I considered Addi and Josiah's closets, but then I realized how much I didn't want them to pull out the busy bags unsupervised because some of them do have smaller pieces.

Next I researched what other blogging busy bag moms have done to keep them organized. Testy yet Trying used 3 ring binder pencil pouches with a clear plastic front.  Because they are all the same shape and size she is able to store them neatly in cardboard boxes.  I found myself wishing I could afford a bajillion pretty 3 ring binder pencil holders, and then soon realized that I would be spending more more on the busy bag holders than the actual activity itself.  Ha, never mind!  I think my ziplock bags will work just fine (even if they don't stand up neatly in a box).  I also thought about that the old phrase "out of site, out of mind." If I were to place all the busy bags in neat boxes and store them somewhere I would probably be less likely to pull them out as often.  I imagined myself telling Addi she couldn't play with her games because I didn't want to fool with the hassle of pulling out a box.  Or even worse, I imagined that Addilyn and I both would forget she even had the games to play with.

Finally I decided I was going to set them out in some orderly way in our laundry room (closest thing I have to a closet in the front of our house).  I tried multiple ways before I finally found a method that worked for us.  My favorite failed attempt was to replicate the method used by  We Love Being Moms. They used shower curtain rings and clips to display all their busy bags from a wire shelf in a closet.  Well I wan't about to purchase and install a wire shelf in my laundry room (because I already have great cabinets and there would not have been any room); however, I thought I might be able to improvise.  I Found a tension rod that we had used in our previous home and I tried securing it in multiple locations (under one of the cabinets, in-between two shelves, and another that wouldn't make any sense even if I tried to describe it to you).  However, by the time I added the shower curtain rings and one or two of the busy bags the rod would slip loose and fall.  I tried this over and over again tightening the tension rod each time.  With each failed attempt I became more and more angry.  I soon realized I was a living example of the quote, "Insanity is doing the same thing over and over again but expecting different results." I finally came to my senses and decided to start back at square one.

As, I was putting back the tension rod in this small nook with the other odds and ends we used at our old house I came across a over-the-door hanging shelf.  We had used it on our pantry door to create more "shelving" and here it was just waiting to be put to use once again.  The notches in it were the perfect size for a clothespin so I decided to give it a try.  Perfect!

Each bag is hung up by a single clothespin and I have enough spaces to hang approximately 30 bags.  In addition the heavier bags can sit on the actual shelves directly behind the clothes pins.

This has worked so well for us.  First, it is neatly put "away" in the laundry room so that when we have guests they are not seeing tons of bags laying in a basket or a box on the floor.  Secondly, it is still placed in a area that I see every day so that we don't forget we have them.  Third, they are organized so the kids can see many options of games, but they are high enough on the door so they can't get them down without my help.  Finally, they are extremely easy to get out and put away (it really is as simple as squeezing a clothes pin).

And, for all the ones that don't fit, I pack them away for a  month or two and then trade them out with the ones the kids have been playing with.  It's the "put some of the toys in the attic" trick; except in this case, I use clear plastic storage bins next to my dryer.  I have one bin for seasonal busy bags (i.e. Christmas, Valentines, etc.) and another one for year-round games I can pull out for just any old reason.  I've found that the ones that have been put away for a little while are also good for road trips or doctors visits!


Building Letters

Last fall when we were visiting a friend in GA their preschooler had this really neat Letter Construction Activity they had found on Amazon for $30-35.  It was so cool.  The goal was to place pieces of colored plastic on top of a template of a letter and actually built the shape of that particular letter.  A few weeks later I saw a post on Pinterest about how to make your own version of this activity.  I've gone back and looked through my boards and for the life of me I cannot find that pin.  So, please know that this was not my idea and to whoever came up with this do it yourself "Build a Letter" activity, THANK YOU!

For the lowercase letters I used some orange foam and even made the template cards to place the foam on. However, for the uppercase letters, I ran out of ink and scrapbook paper so I decided that my kids could just do it without the template and figure out how to fashion the letter from the blue foam alone.  Both ways have worked just fine.  It took about 1 1/2 hours to pint the letters, cut the letter, paste the letters on the scrapbook paper and then cut the foam strips.  All in all 1 1/2 of work saved me approximately $30.


Sandpaper Alphabet Set

As I've been teaching Addilyn her letters, I think it is more important for her to learn the sounds each letter makes rather than the name of each letter.  When we visited a montessori school I saw their sand paper alphabet set.  They had wooden blocks with each letter of the alphabet on it.  As the student traced the correct way to draw the letter he or she would also practice saying the sound the letter made.  I thought this was wonderful.  I looked for the tactile letters set online and they ranged from $15-$42.  We didn't have the money to go buy these sandpaper wooden blocks so I decided to make them for my self.  With a little red card stock I had laying around and a pack of sandpaper I bought at the Dollar Store, we now have our own set to practice with and it cost me a total of $1.08!


February 19, 2013

We love because God first loved us!

Most people in our culture could not tell you the history or origin of Valentines.  Most would not know the story of St.Valentine who was imprisoned for performing weddings for soldiers and ministering to Christians being persecuted under the Roman Empire.  Most would not know that the day was also celebrated as a fertility festival with rather risqué elements that I won't go into here. However, to most individuals, Valentines has become a day to celebrate the idea of love.  Weather it's flowers, candy, a nice dinner these things are meant to be shared with those who are special to you.  So, regardless if it's origins are nobel or revolve around pagan rituals, and despite our societies transformation of the day into a "Hallmark holiday," in our house we celebrate Valentines as a day to focus on LOVE.  True love.   Love that comes from the Creator God himself!  Last year, when Addi was one we told her over and over again "God is Love"  (1 John 4:8).  This year our verse was 1 John 4:19, "We love because God first loved us."  We made a point to teach Addilyn that the only reason we can love others is because God has shown us love.    Some other verses we read together and tried to live out included:
  • Deut 6:5- Love the Lord your God with all your heart!
  • 1 Cor 13:4a - Love is patient, love is kind. (This is how we can put love into action)
  • Matthew 22:36-29  Which is the great commandment? “You shall love the Lord your God with all your heart and with all your soul and with all your mind. This is the great and first commandment. And a second is like it: You shall love your neighbor as yourself. (This is why we sent cards to others and hosted a party)


Here are pictures from our fun week trying to remember God's love for us and striving to love others from the overflow. 


These were cards we sent to grandparents and great grandparents.  On my mom's side of the family we always used the sign for "I love you" when leaving the house so when I saw this idea on Pinterest I couldn't pass it up!


This was the card we sent to Addi's great-great grandmother! Underneath all the pieces there really is a heart, I promise.  ;)

Addilyn made a heart butterfly to give to her Daddy.  So sweet!


Some of our friends who live pretty far away are going through a tremendous life change in their family by taking in a few foster children who desperately need love.  We collected letters, notes, and scriptures from others who knew them before they moved and put it into a Valentines care package. 


This is our Valentines morning breakfast tradition.  We LOVE cinnamon rolls in our house!


Addi and Siah had almost 20 friends coming over for their Valentines party so I thought we needs a few yummy treats to share with everyone.  Here is a homemade heart-shaped cookie cake.  I was so gooey when  took it out of the oven and began to crumble on the left side, but my oh my did it taste good.  


There was at least one friend who could not eat chocolate so of course I had to make another dessert so he could have some too, right?  It gave me a great excuse to make a homemade red velvet cake with homemade cream cheese icing.  I love baking, but feel I need excuse to do it.  This was my chance!


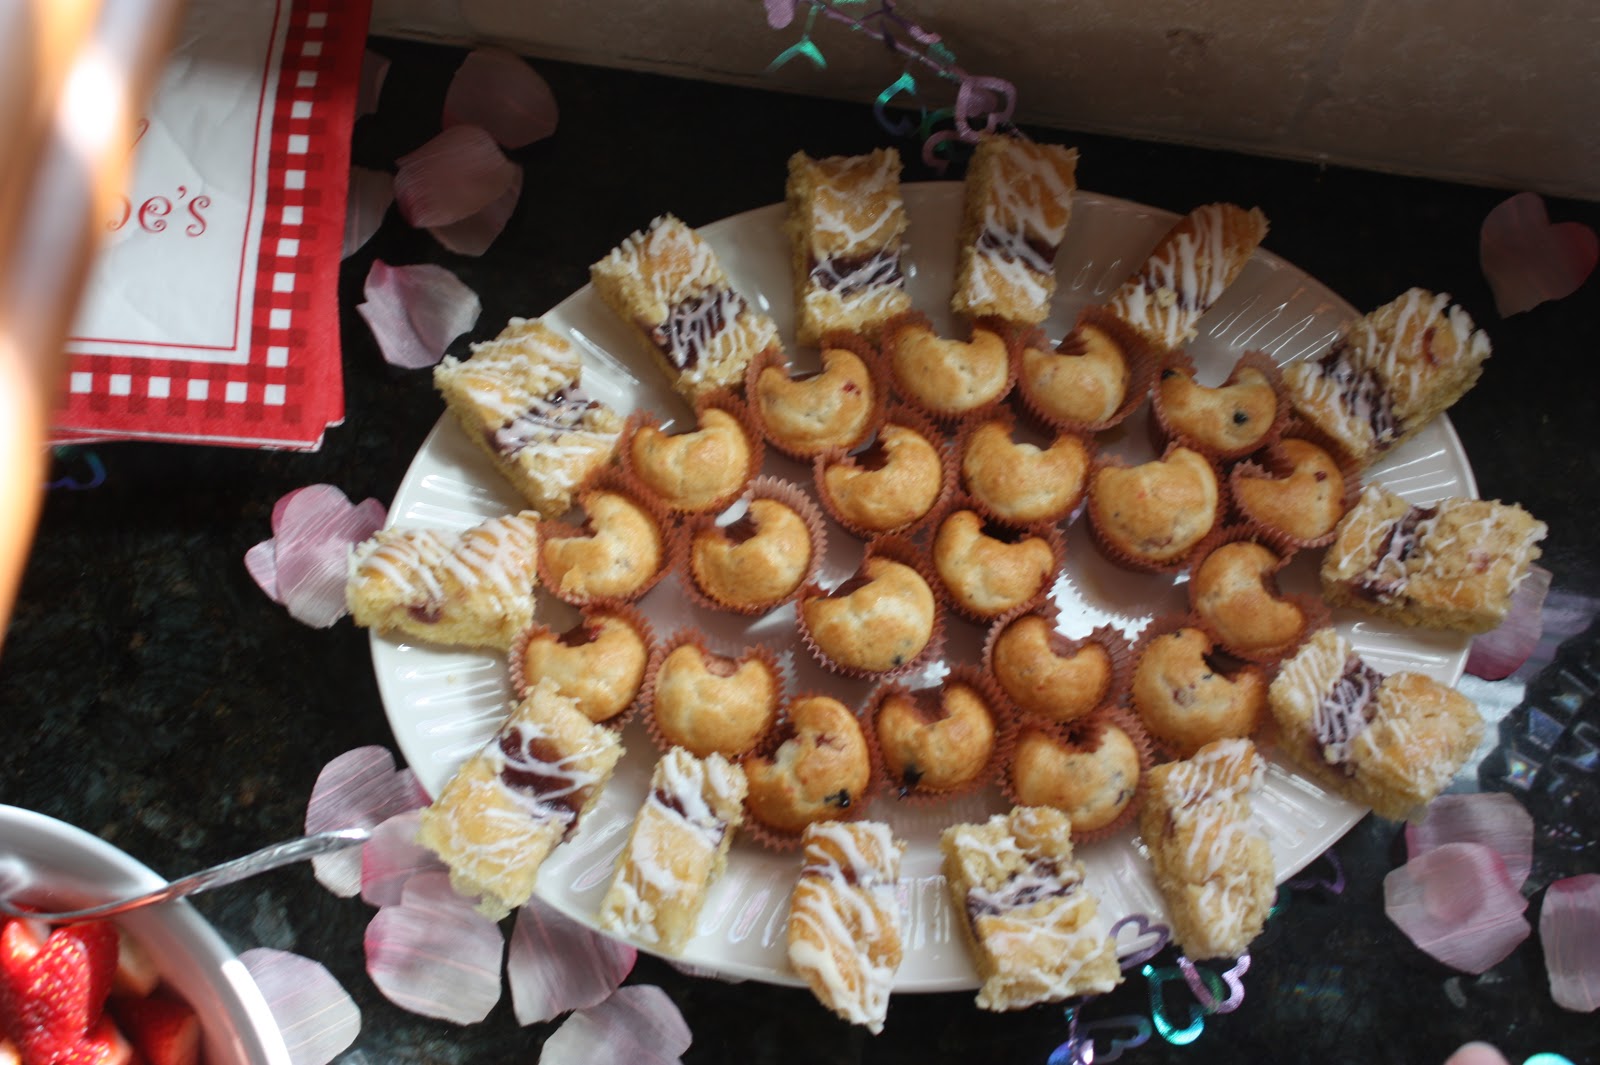
Since the party started around 10:00 I thought it might be good to have a few breakfasty items.  This was my attempt at at tray of raspberry danish bites and heart-shaped wild berry muffins. I think the muffins turned out rather silly looking, but oh well.

We had a fruit bowl full of heart-shaped strawberries and bananas.


Addi was thrilled to decorate for her party. She put decorations on the table...

...and sprinkled silk flower petals and heart garland all along the food counter.


For lunch, I could not pass up the opportunity to provide bagel pizzas with heart-shaped pepperonis.  So fun!


All the children helped make cards for a few ladies in our neighborhood.  They colored and used tons of stickers to really make the cards stand out.  I wish I would have taken pictures of a few of them.  They really were beautiful.  In addition to craft time, we also had game time.  I had made some Valentines busy bags for Addilyn and Josiah to play with and I pulled them out at the party to keep some of the kids entertained.  All in all I think everyone had a good time.

Heart size and color matching. 


Broken heart sticker counting.


Size sorting.


Cookie cutter match.


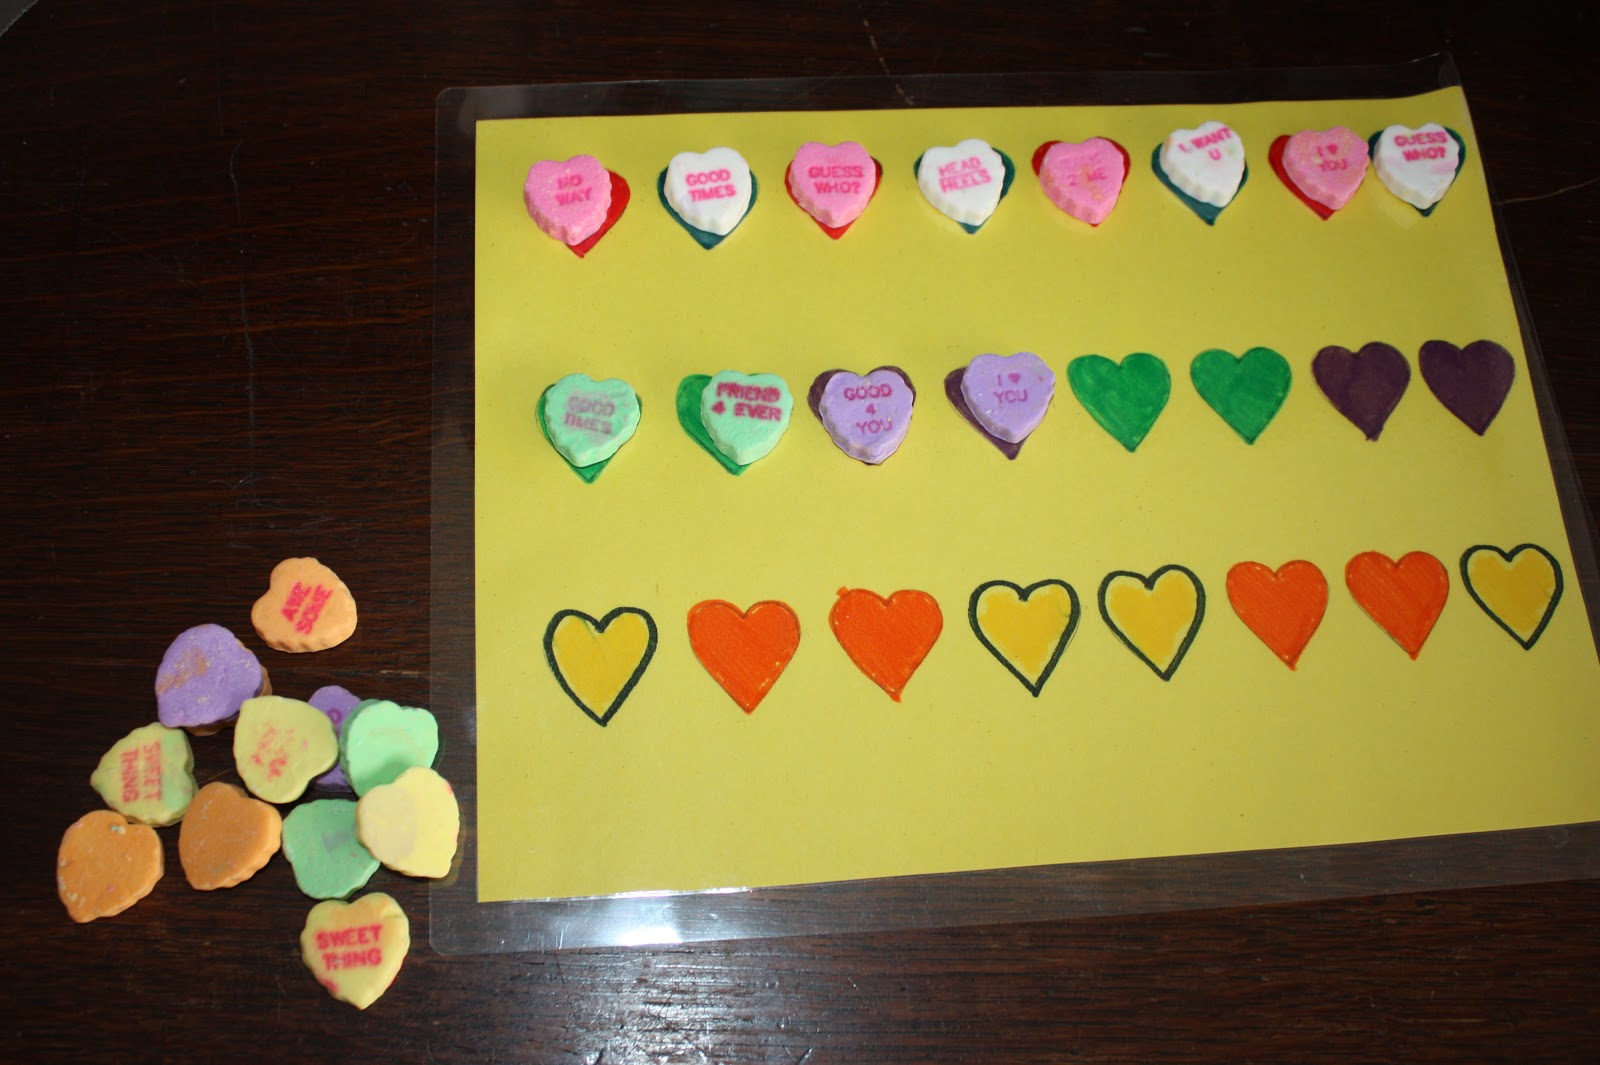
Candy heart pattern matching.

October 27, 2012

Fall, Thanksgiving, and Christmas Themed Busy Bag Swap


We recently had a Fall/Thanksgiving/Christmas Busy Bag Swap.  However, this time instead of having a swapping party, everyone dropped off their bags at my house through out the week and I was able to deliver all of them one Sunday at church.  It actually worked really well and I think is a great alternative during busier seasons.

First, we have a fall leaf matching memory game.  I love these memory games because if your child is pretty young they can match the cards with the pictures face up and then grow into using the game as a memory game.

Next, we have fall themed lacing cards.

Then, we have these really neat cards that show the child what eight different kinds of trees look like.  If you flip over the card there is an outline of one of the leaves from that particular tree.  The child can then match the leaves with their outline.  So fun!

Next, we have a felt Thanksgiving turkey board.  The child can make many other scenes from the felt shapes provided, but I gave Addilyn a picture of the Turkey scene and asked if she could make it on her own.

Another Thanksgiving felt activity focuses on Pilgrims.  I think this is so neat because you dress the person in the boy pilgrim or girl pilgrim clothes.  I thought about make some felt Indian clothes to to add to the bag.  We will see if that actually happens before Thanksgiving.

Next, we have two size sorting activities; one for Thanksgiving and one for Christmas.  The Thanksgiving set includes a small, medium, and large set of 2 different types of leaves, pumpkins, and Pilgrim hats.  The Christmas set includes a small, medium, and large set of ice skates, snowflakes, scarves, Christmas trees, and sleds.  I haven’t let Addi play with this one yet since it’s only October, but all she will have to do is put the appropriate size object in the correct foam window.


Then, we have some fun snowball counting made from cotton balls and paper cups.   I like games like this where is a piece goes missing you can easily replace it.

We also have a few Christmas themed lacing cards.

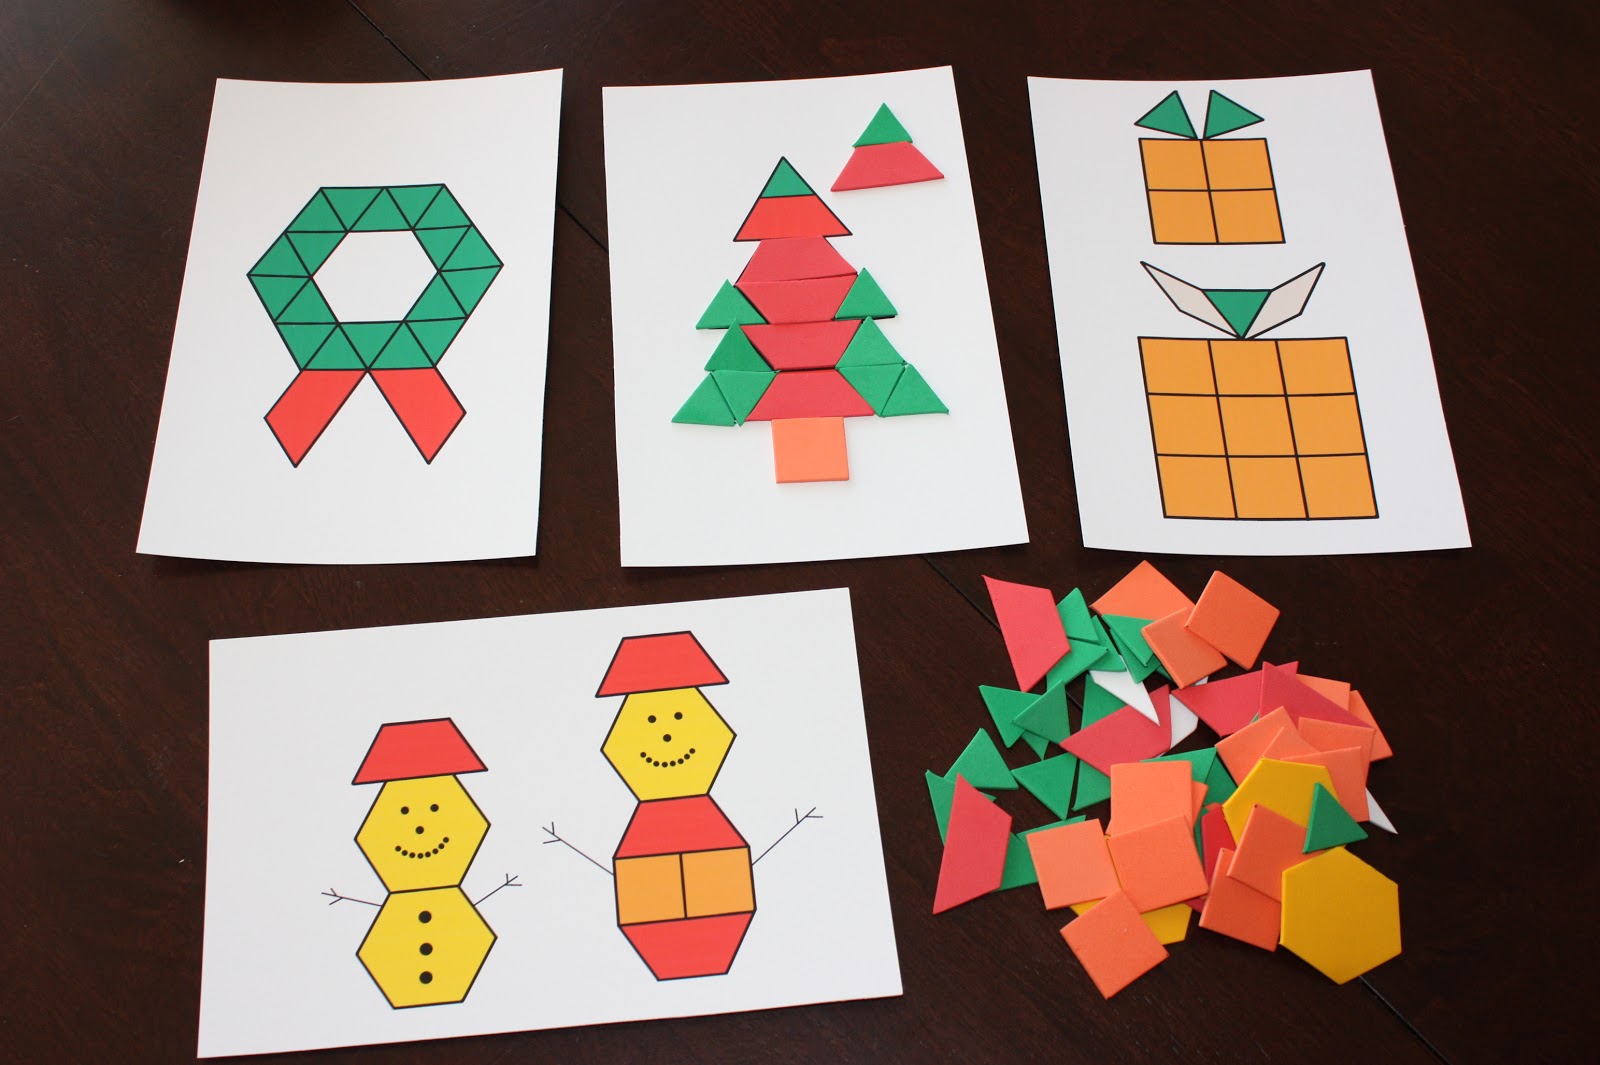
Now, this one is a fun one.  With lots of foam shapes we can make all sorts of Christmas symbols.  There are several pattern cards for younger kiddos.

And, last, but not least, we have a felt Christmas Tree button game.  The stars have the numbers 1-20 on them.  You place a star on top of the tree and your child can place that number of buttons on the tree as if they are ornaments.  I just thought this was the cutest idea.

Related Posts Plugin for WordPress, Blogger...
Twitter Delicious Facebook Digg Stumbleupon Favorites More

 
Design by Free WordPress Themes | Bloggerized by Lasantha - Premium Blogger Themes | ewa network review